Followers

Showing posts with label another stool. Show all posts

Tuesday, July 28, 2020

Big Stool Mistake

I went out to water the lawn this morning, but everything looked pretty wet.  We had a good rain yesterday evening. 
Every morning the cats and kittens are on the back porch waiting to be fed.  It is hard to step out of the kitchen without stepping on one of the kittens. 
I finished one of the stacking stools yesterday.  I have not been able to build them scare.  It helped when I had opposite rails the same length.   I cut out the seat a little larger than needed.  I always put on my dark safety glass whenever I turn on the saw.  Because of the dark glasses I couldn't see the direction of blade and cut out s piece of the seat. I then carefully trimmed the edges down to size.  The one in the photo has a large seat.  I set the miter gage at ninety degrees to match the angle of the seat. 
It looked pretty bad.  You can see on the bottom edge.  I tried to fix it using a router.  That didn't work.  I used my cordless circular saw.  It looked worse.  I then nibbled away the ugly part on the table saw making a rabbit. 


I cut out a piece of wood the same size as the rabbit.  The glue and pinned it into place.

I did the same for the other two sides.  The fourth side is for tomorrow.

Please LIKE, SHARE and LEAVE A COMMENT! We want to hear from you!


Thursday, February 27, 2020

Finished, Stool # 3

During the last couple of weeks I have been building stools.  The idea for stacking stools came to me about a month ago.  The You Tube videos were complicated so I came up with my own plans.
This is the first one.  I made a lot of mistakes and had to take it apart several times and put it back together.  I put the rail flush with the plywood seat, which gave it an unfinished look.  I didn't chamfer the outside edge of the legs.
The second stool went much better, but again I made several mistakes.  I was able to complete it much faster.
I had a four foot 2x2 left over from the second stool.  The four footer was only long enough for three legs.  I cut an other short  piece.  I then ripped the face of all the piece until the dimensions were right.
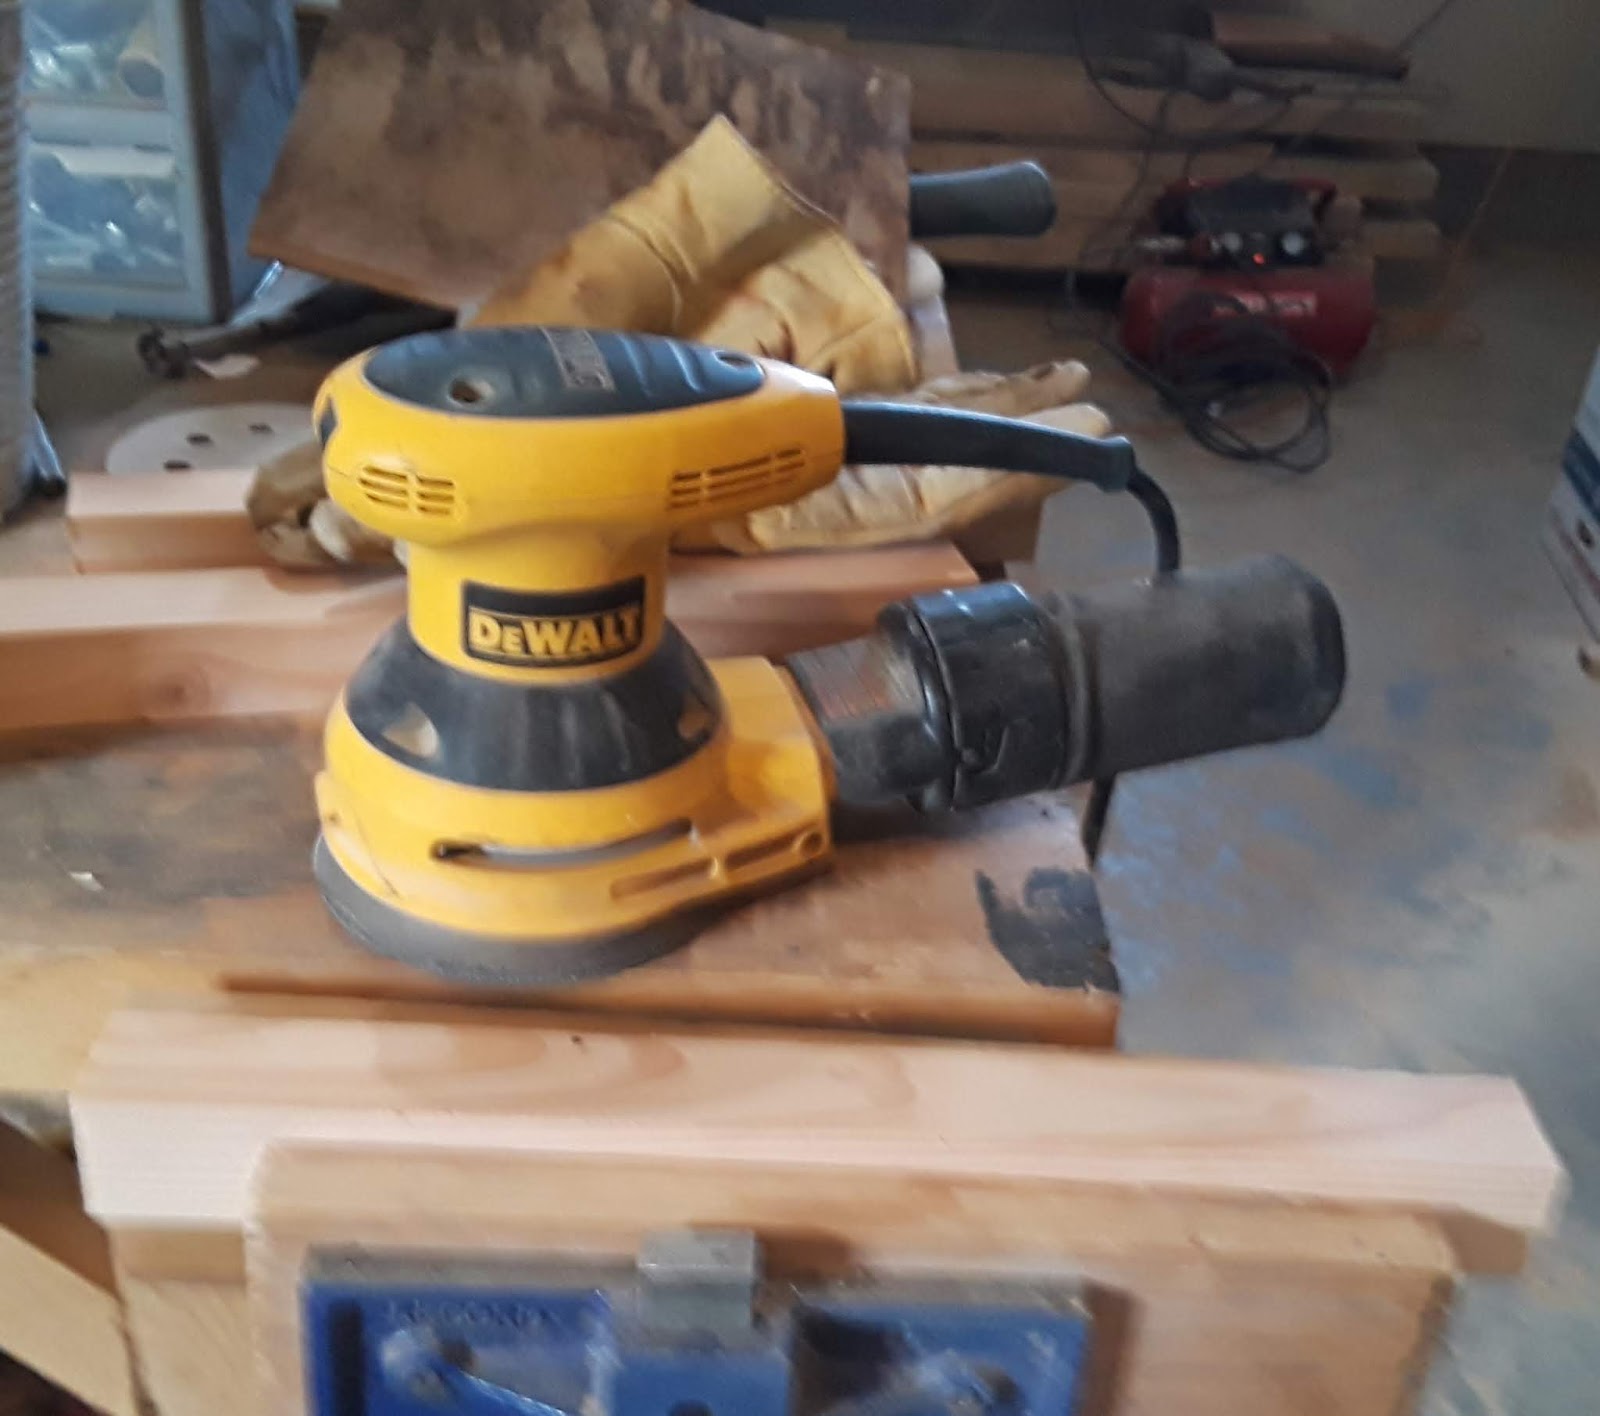
Here the pieces are ready for sanding.
I sanded the longer piece and then the shorter piece with 40 grit sand paper and then with 120 grit sand paper on all four faces.
I put a chamfer on the edge with a router.
The same on the longer piece.
 Here I am cutting the legs to length. It is easy to cut them with the table saw sled.
The four legs are about fourteen inches long.
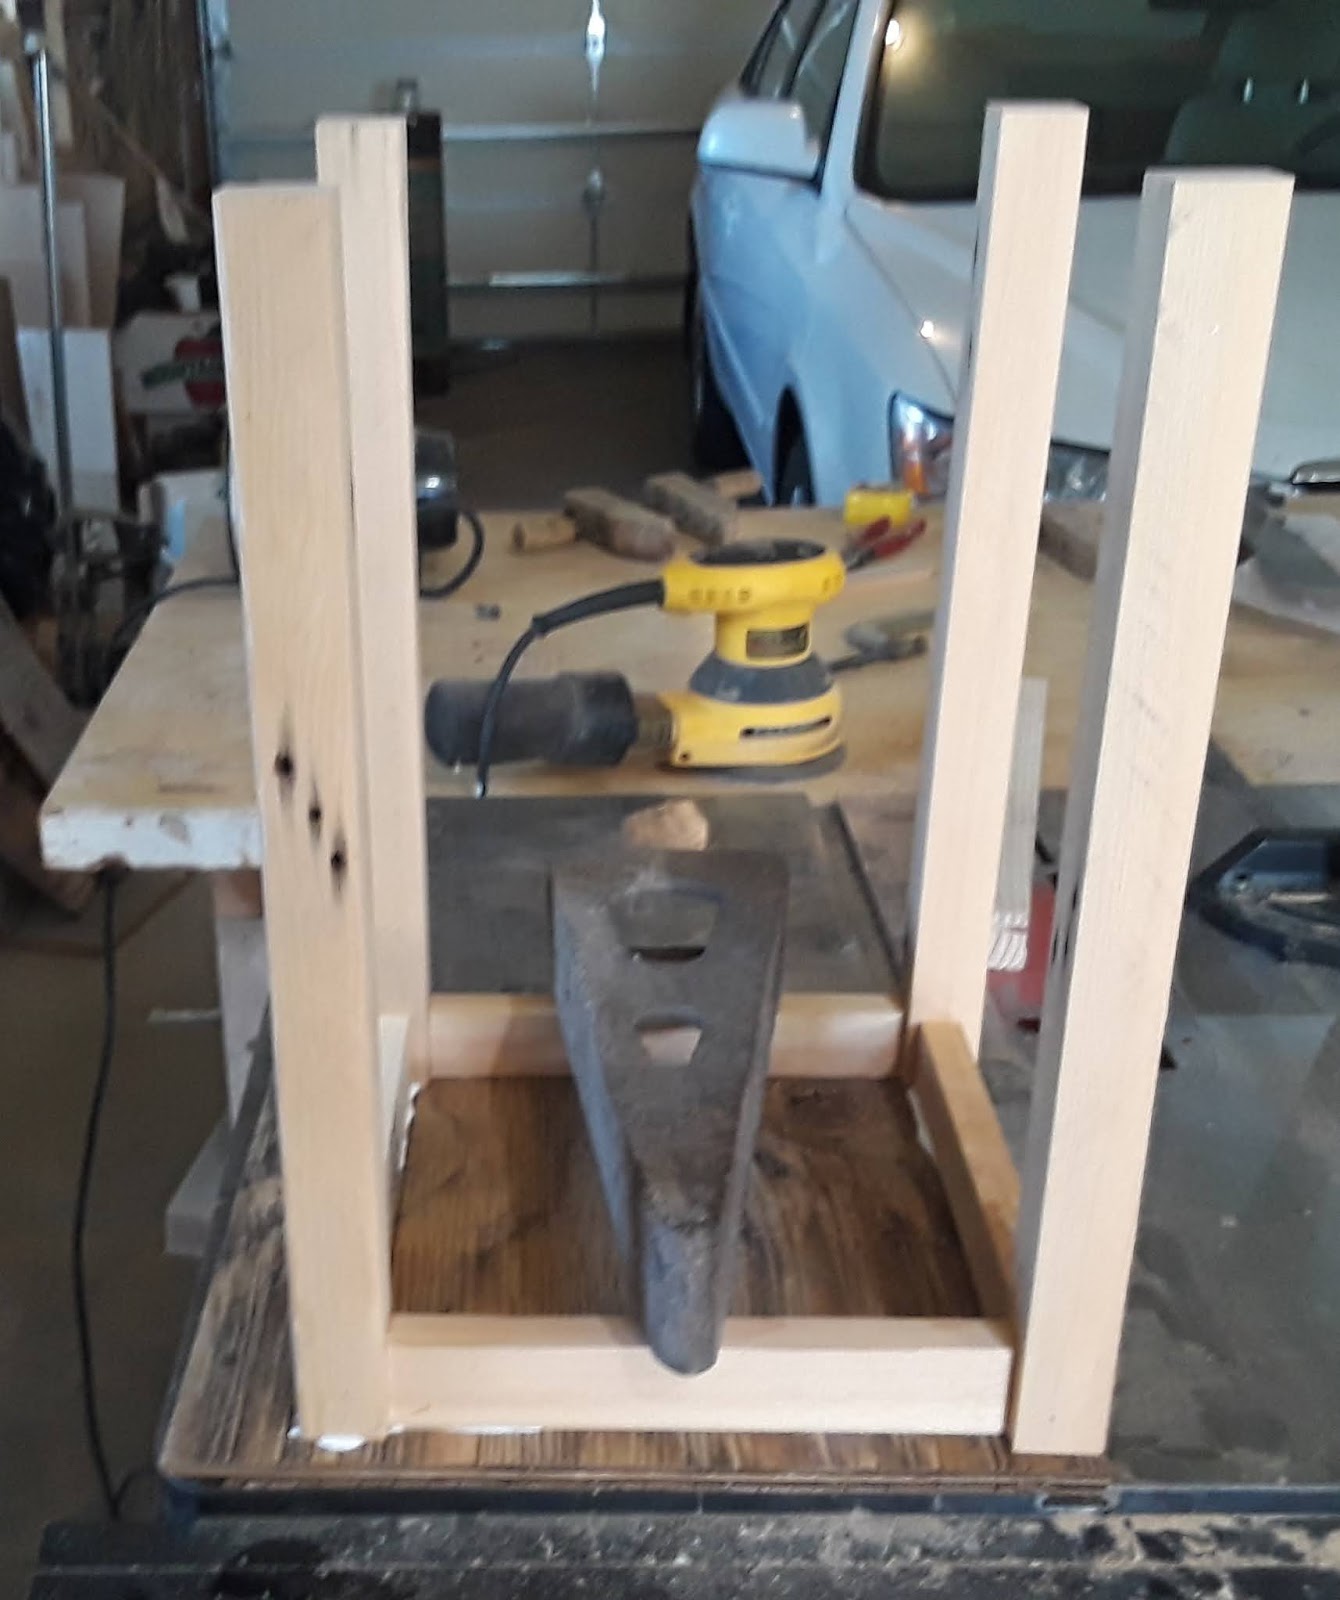
I applied glue the corner of the plywood seat.  And then I pinned it three time with my nail gun.  I did the same for each leg until all were glued and pinned.
I used a new eight foot furring strip and rough cut it into four strips about fifteen inches long.
With the stool is upside down, I put a line of glue on the seat.  I then put some glue on each end of the rail.  
I put the rail in place.  I clamped the rail to the bench. which is not in the picture.  I pinned through the leg into the rail.   I did the same on the rest of the legs.  The fit of the last rail was so tight that I didn't put glue on the ends of the rail.  
He it is.  A finished stack of stacking benches.  The rails are nearly fourteen inches long.  I didn't make longer legs because I wanted to test it to see if it would work.  It did work and I am fairly pleased at the results.


Comments and questions are welcome

Wednesday, February 26, 2020

Stool Number Three

The same routine most mornings.  Shower, shave sometimes, watch news, breakfast and more news.

I started by making the legs.  I ripped a four foot 2x4.  I set the width at 1 3/4 inches.  I ripped a 16th of an inch off both sides.  Then I ripped off the last side so that all side were the same width.

I had a short piece which I ripped the same as the one above.  I cut the four legs which were 13 7/8 inches long. 
I clamped each leg in the vice.  With the orbital sanders, I sanded all four sides.  First with 80 grit sandpaper.  Then with 120 grit paper.   The last thing was to chamfer one edge which would be the outside corner edge.  I did this with a router.  

 I ran into all kinds of trouble attaching the legs to the stool top. I glued two legs and the rail to the plywood seat and pinned them with my pin gun.  Then I discovered that I had the chamfer edge toward the inside.  I had to take it apart.  I used a pry bar to take them apart.  It took needle nose plyers to pull out the imbedded pins.  
The photo above shows somewhat of an improvement in connecting the legs to the seat.  I laid the legs flat on the bench.  I put glue on the ends of the legs.  I the put the seat in in an upright positions making sure that the chamfered edge was at the corner of the seat.

I pin gun ran out of pins.  I found some that were much longer and could go through the leg and into the rail.  I pinned the legs and pinned the rails a little off center.  I cut the rails a little larger than the space between the legs.  I trimmed a little of the rail until it had a snug fit.  I glued it and pinned it the legs and rail.  I did that for the four legs  I clamped until the glue set.
I put the stool in the wood vice and sanded the top.
The two stools make a nice stack.  I think that I could stack the third one.  Making that tomorrow.  Larry, Carol's brother, and his wife have been in St George.  They stopped by on their way home.  We had a nice visit.
I took four cutting from the purple plum tomato plant in house six.  They are now in the kitchen window.

Comments and questions are welcome.

Tuesday, February 25, 2020

Another Stool

I was a good day at the temple.  A group of us enjoyed lunch in the cafeteria.   We came home and stopped the Top Spot in Salina for ice cream.

After a little relaxing I started another stool in the garage.  The one I built yesterday was not very square.  I was going to make some stacking stool.  I checked on You Tube for some videos showing how it was done.  They were all to complicated.

 I started a little bit differently today.  Again I got to evolved with the building, I forgot to get some step by step pictures.
I started by making a square piece of plywood.  The first plywood square was pretty old and ugly.  I discarded it and made a new one out of a better looking piece of plywood.  It is about eleven inch square.  The legs are fourteen inches long.  I trimmed the rough sides of the 2x2.  I cut out the knots of the 2x2.
I thought for some time about connecting the legs to the plywood top.  I didn't want to use screws or pegs.  I turned on the compress.   I put glue on the top ends of the legs and used some pin nails.  I put a weight on top to hold it a little more secure.  
Here is the finished piece.  I glue each rail to the top and the legs.  I clamped the rail to the tom and pinned it with the pin gun.  I toe nailed the edge of the rail to each leg.   The glue has set and it is pretty sturdy.  It is a little short for an adult to sit on, but just right for a small child.  It is a good place for a plant.
All finished except for sanding and staining.


Comments and questions are welcome.

Monday, February 24, 2020

Back to Normal

Monday morning is the major wash day.  That is started the first thing this morning and finished after breakfast.    I took some picture later yesterday afternoon of the whoop house that colapsed because of the weight of the snow.
I took to more photos at midday.
I looks like the tee post bent.  

The snow messed up the poultry wire.  I will remove it when the snow melts.

I have a short stool by the desk top computer in my bedroom.  It is uncomfortable to be low and hand up high for the key board.  The stool in the kitchen is twenty-two inches tall.  I tried it for a little key boarding.  It was more comfortable.   I made one using weathered 2x4's.   I cut two last Friday.  I cut a couple more this afternoon.  For the project I used the table saw, miter saw, table top sander,  and three battery operated drills.

I have built numerous stools before, but always forget the sequence of cutting the parts, drilling holes in the legs and attaching the skirt or some call it the rail.   The legs are screwed the rails.  some are glued and some not.  The legs become very slippery when clamps were applied.  Without the glue it was much easier to keep the legs in the right place.  I sanded the legs and made a soft edge with the router.


Comments and Questions are welcome.

Saturday, January 5, 2019

A Little Warmer Today

It is Quenton's, our youngest grandson,  birthday next week.  Last Monday we bought him a present.  We didn't have a box that would fit the present.  We drove to Fillmore for some groceries and find a box.  At the back of the store there was an employee stocking some frozen food.  He emptied the box and with my tape measure the dimensions were nearly perfect.  We grabbed the box and got a few groceries and headed home.
The present was wrapped.  I put it in the box and it was a perfect fit.  I then made an address label.  We went to the post  office and Quenton should have it by Monday.
 After lunch I spent some time in house two.  I picked some Italian parsley, radishes, and one tomato.
I later picked a cucumber and put it all on a dinner plate.
Slugs and snails are eating the radishes.  The vegetable oil that I used a couple of days ago did not work. I put these small boards between the rows.  I am hoping that the slugs and snails will crawl under the boards.  In the morning I will find them on the underside of the boards.
The water in the hoses in house six melted some and I was able to water the lettuce plants.  The red arrow points to water dripping out of the drip line.
A lot of ice at the hose bib.  I let it run so the pipes will not freeze and break.  One hose was buried in the ice.  I used a heavy shovel to break the ice to free the hose.  I later turned it on and water started to run.  I want to sprinkle the ground in house six to start weeds germinating.
I had some time on my hands so instead of watching TV I started making and other short stool.   I made the legs out of some short 2x4's and I made the rails by ripping a 2x4 in half and ended up with two 1x4's.   I have had a hard time attaching the legs to the rail.  I used some clamps to hold the legs to the rails.  That didn't work.  I placed the heavy gear on the rail witch worked pretty good.  I applied some glue on the connecting pieces.   I then drove screws through the leg into the rails.
Here it is.  All it needs now is the top.  A little sanding and staining will finish it off.