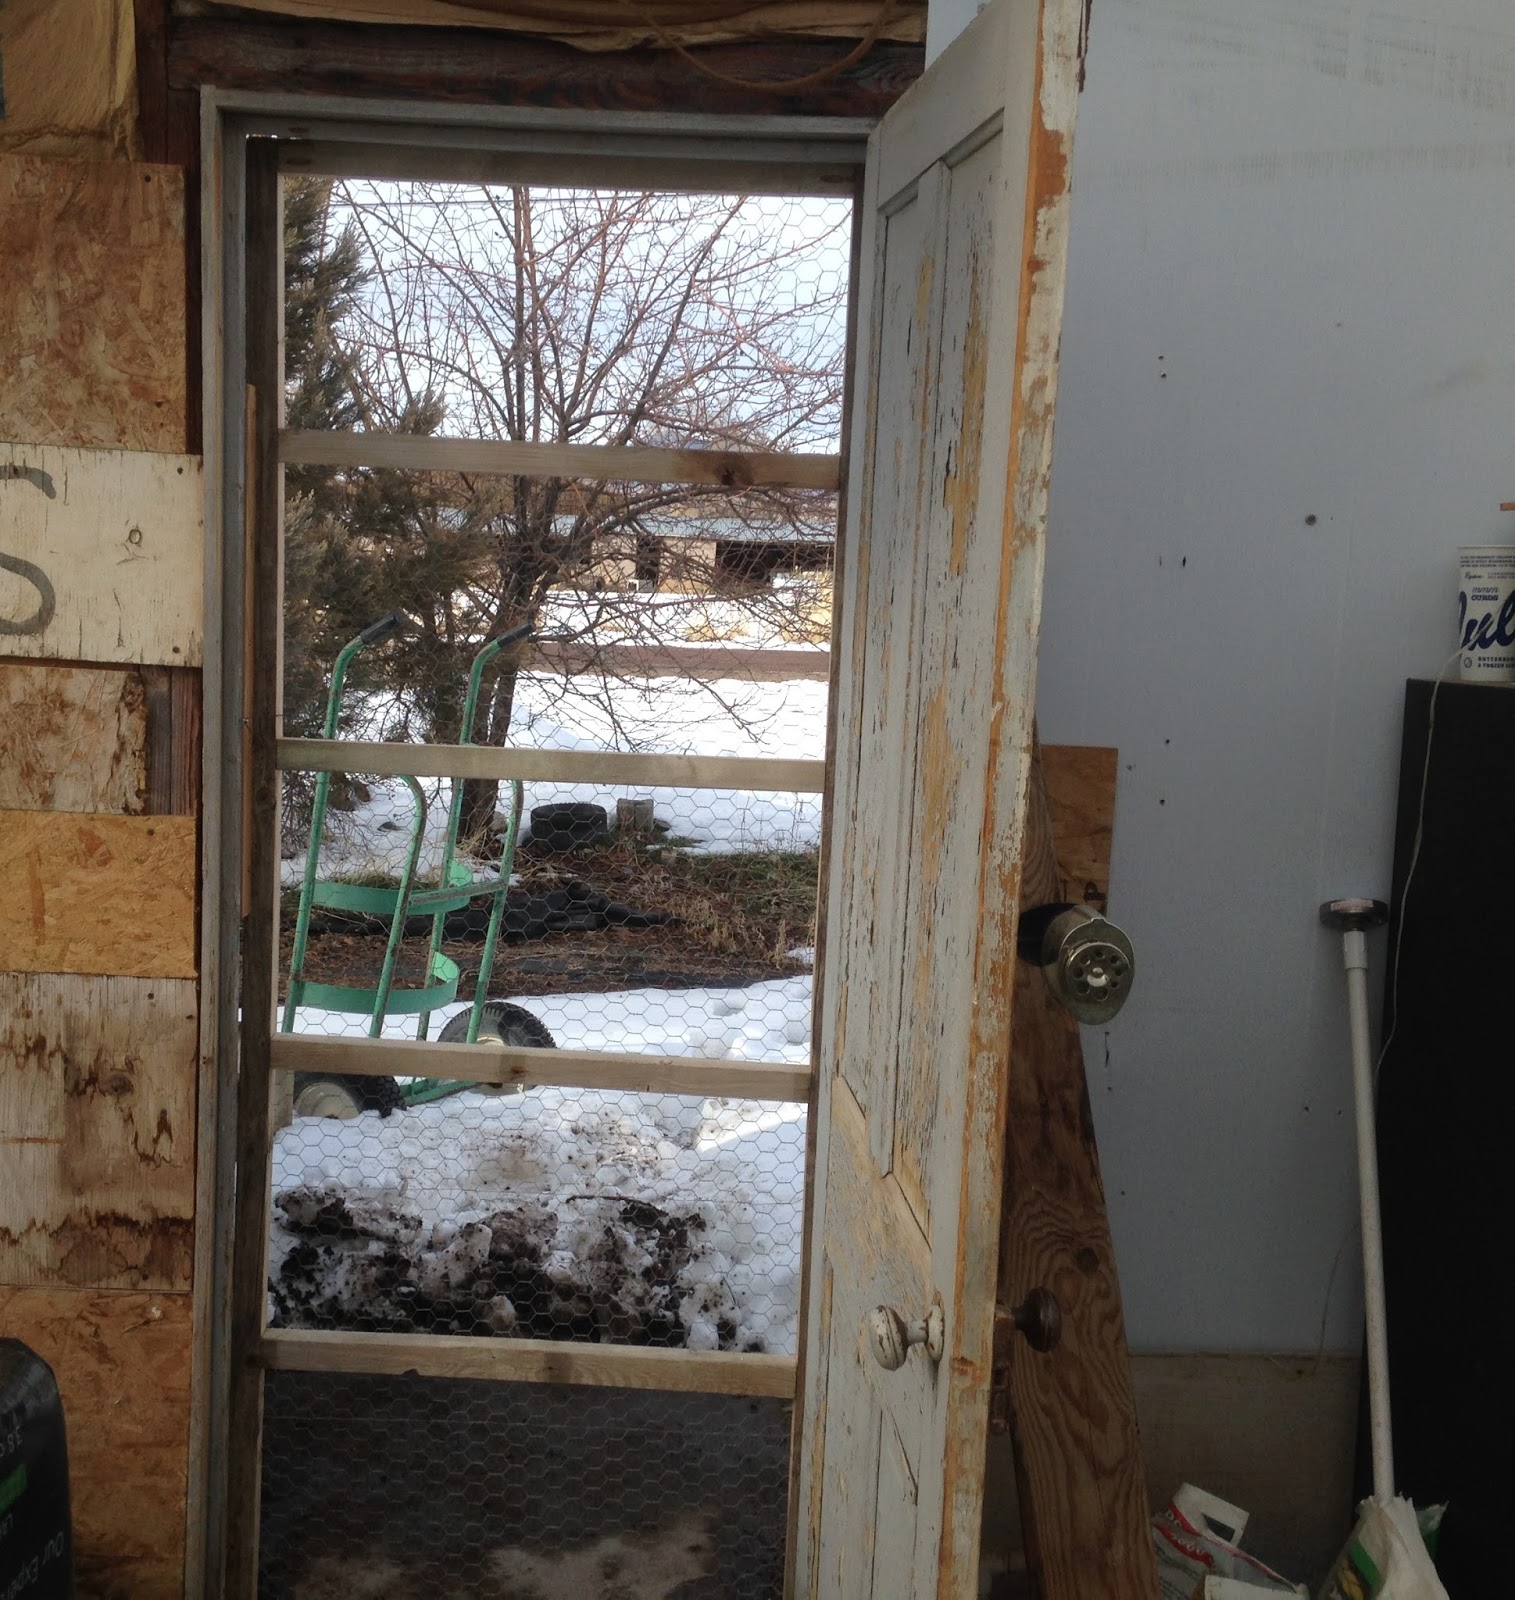
It has been a busy day. Carol went to the doctor and I stopped off at Ropers to get chicken wire.
I was anxious to check on the chicks. I was surprised to see that the heating lamp had broken. There was glass on the wire netting I use so the chicks will not fly out. Some pieces where about eight feet away. I didn't get a picture but took a picture later with some of the glass in a germination trays.
I put the lamp in the germination tray to show how it looked. This is the third lamp that has broken in about five days. I had not idea what caused the lamp to break until this morning. The moisture condenses on the poly. A drop of cold water falling from the poly must have hit the lamp and caused it to break.
The Burpless cucumbers I planted a couple of weeks ago are doing well. The first true leaves are showing now. I made six holes with a cone-tainer dibler. Two are showing below the six pack.
Three of the six are in the above photo. I later gave them a good drink.
Two trays of Styrofoam. In one are planted leek seeds and in the other are planted curl leaf
Early in the morning a couple of days ago an idea of how to wind up a mic cord came to me. The above picture shows part of the progress. I found a piece of pine I cut it into three pieces. Two narrow pieces that are longer and then a wider pieces that is shorter. The short one is in the middle and the two narrow ones are on each side. I applied glue and clamped them together.
I used two more clamps to keep them from slipping all over the place.
There are two handles held to the body of the holder by two bolts that go through a 1/4 inch hole in the handles. I hold the one in the left with my left hand and the on one the right with my right hand. The one on the right acts as a crank. As i turn it, I can wind bailing twine or mic cord or anything else.
There were a few problems with it. I put a longer bolt in the handle on the left. I cut miters on the pieces on both ends. The twin had a tendency to get caught on the ends on the right side. The above picture shows it is standing on its end.
Here it is laying flat on the kitchen table.
Also today, continued working on the chicken wire door for the north door in house two. I tried the frame in the door, and it was way to tight. I brought it back and laid it on the driveway. I cut 1/2 inch off the bottom. The bottom was too narrow so I glued on another piece. I clamped it and then drove screws through the bottom into the new piece.
Putting the chicken wire on by myself turned out to be a challenge. I used different weights to hold it. I tried wire staples, but the wood was too hard to drive them in. I ended up using 1/2 inch screws and washers to hold the wire in place.
It fit in the door almost perfectly. I attached the hinges.
I put in a piece of wood for a door stop. It has a yellow tint with the arrow pointing to it.
There are several pictures taken from different angles and directions. The one above is looking west.
This is looking east. The corner of our house is showing at the left.
A close-up looking directly towards the house.
Lastly is the pomegranate bush. There are a lot of buds forming. There were five on the end of one of the stems. Aphids simply love the buds.
Comments and questions are welcome.